Summary: Between the first prototype and production tooling there is often a gap: you need a small batch of parts that look presentable and fit together, but the injection mold is not ready or the design is still changing. Silicone casting fills that gap. You make one finished master, form a silicone mold around it and cast resin copies. It is not the right tool for one or two parts, or for a design that changes daily, and cast parts do not prove the strength or snap-fit life of the final injection-molded part. For a small, stable batch, though, it can cost less than finishing every printed copy by hand. We used it for early parts across our product range, and LaMetric SKY is one example.
The problem with ten printed parts
Ten printed parts can mean ten rounds of sanding and finishing. Each copy comes off the printer with layer lines, support marks and a surface that is not quite what you want in someone’s hand or in front of a camera. Every copy needs the same careful work again, and the work does not get faster just because you have done it nine times already.
That is fine when you need one part to check a shape. It becomes expensive when you need a handful of parts that look alike, fit alike and can be shown to people outside the engineering team. At that point the question is no longer “can we print it?” but “how do we get ten good copies without doing the finishing ten times?”
The gap between prototype and tooling
Between the first prototype and production tooling, you often need a small batch that looks presentable and fits together properly. The production injection mold may not be ready yet, because tooling takes time and money and you do not want to commit to it while the design can still move. Or the design may still need changes, and cutting steel for a shape you will revise is the most expensive way to find that out.
This is the stage where silicone casting is worth considering. It sits between printing and machining on one side and injection tooling on the other, and it lets you prepare one part carefully and then repeat it.
How silicone casting works
The process has four steps, and the first one decides the quality of everything after it:
- Make a master part. It is often a 3D print or a machined part, and its surface is finished by hand. The mold reproduces whatever surface the master has, so this is where the finishing effort goes.
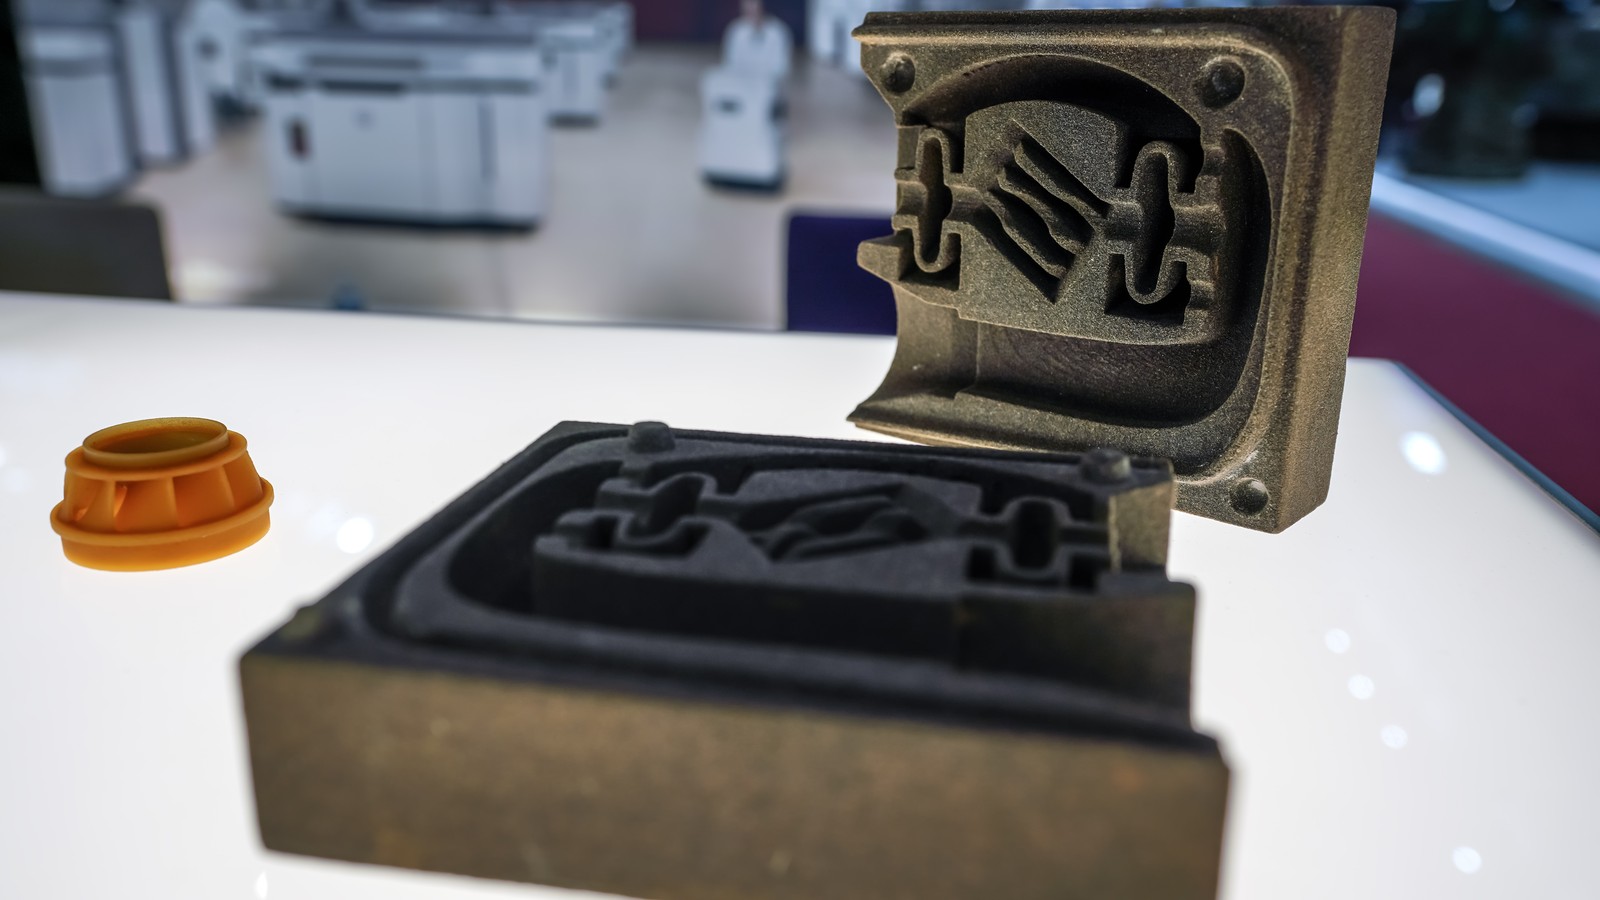
- Form a silicone mold around the master, with gates and vents so that resin can flow in and air can escape.
- Cast resin into the mold. Polyurethane is the common choice, and vacuum helps reduce trapped air.
- Let it cure, demold the part, then trim the gates and the flash.
A silicone mold often produces around 20 to 25 parts, but its life depends on the geometry, the casting resin and the surface quality you require. A part with deep ribs or thin walls will wear a mold differently from a flat one. Plan for the lower end of that range if the part is demanding.
When it makes sense
Silicone casting earns its place in a few situations:
- Presentable prototypes for demos, photography and early feedback, where a raw print would distract from the product.
- A consistent surface across a small batch. The mold reproduces the prepared master, so every copy starts from the same finish.
- Assembly checks across several units, including clearances, alignment and access to fasteners. A fit problem that shows up on one unit may be a tolerance stack-up, and you only see that with several.
- A design that is stable enough to justify making a master and a mold.
The last point matters most. A mold is a commitment, a small one compared with production tooling, but still a commitment.
Where it stops making sense
There are limits, and it is better to know them before you order a mold:
- For one or two parts, printing is often simpler. The master and the mold are overhead you do not recover.
- If the design changes every day, replacing masters and molds adds time and cost. Wait until the shape settles.
- At higher quantities, compare repeated silicone molds with printing and injection tooling. Do not rely on a fixed cutoff, because the break-even point depends on the geometry, the finish and the quotes you actually get.
| Process | Fits best when | Watch out for |
|---|---|---|
| Printing | One or two parts, a shape that still changes | Finishing repeated on every copy |
| Silicone casting | A stable design, a small batch that must look and fit well | Master and mold effort; limited mold life |
| Injection tooling | A frozen design and production volumes | Cost and lead time of the tool; expensive to change |
What cast parts can and cannot prove
Material choice matters too. “ABS-like” or “PC-like” polyurethane can approximate selected properties of the production plastic, but it is not the production thermoplastic. Cast parts can support functional testing: you can check fit, assembly, access and handling. They do not validate the strength, the heat resistance or the snap-fit life of the final injection-molded part. Snap fits are a good example, because their life depends on the material’s fatigue behavior and on how the part is molded.
Treat a cast batch as a way to learn about the design, not as proof that the production part will survive. Keep the tests that need the real material and the real process for parts from the real tool.
Check the whole cost, not one line
If every printed copy needs substantial sanding and filling, preparing one master can reduce that repeated work. The effort moves from “finish every part” to “finish one part very well.” The cast parts still need trimming, and they may need painting, so the saving is not automatic.
Depending on the batch and the finish, casting can cost less overall. Compare complete quotes for both routes, and include the master, the molds and the finishing on the casting side. A quote that lists only the price per cast part will make casting look cheaper than it is.
Our experience
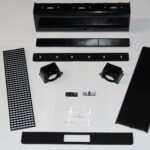
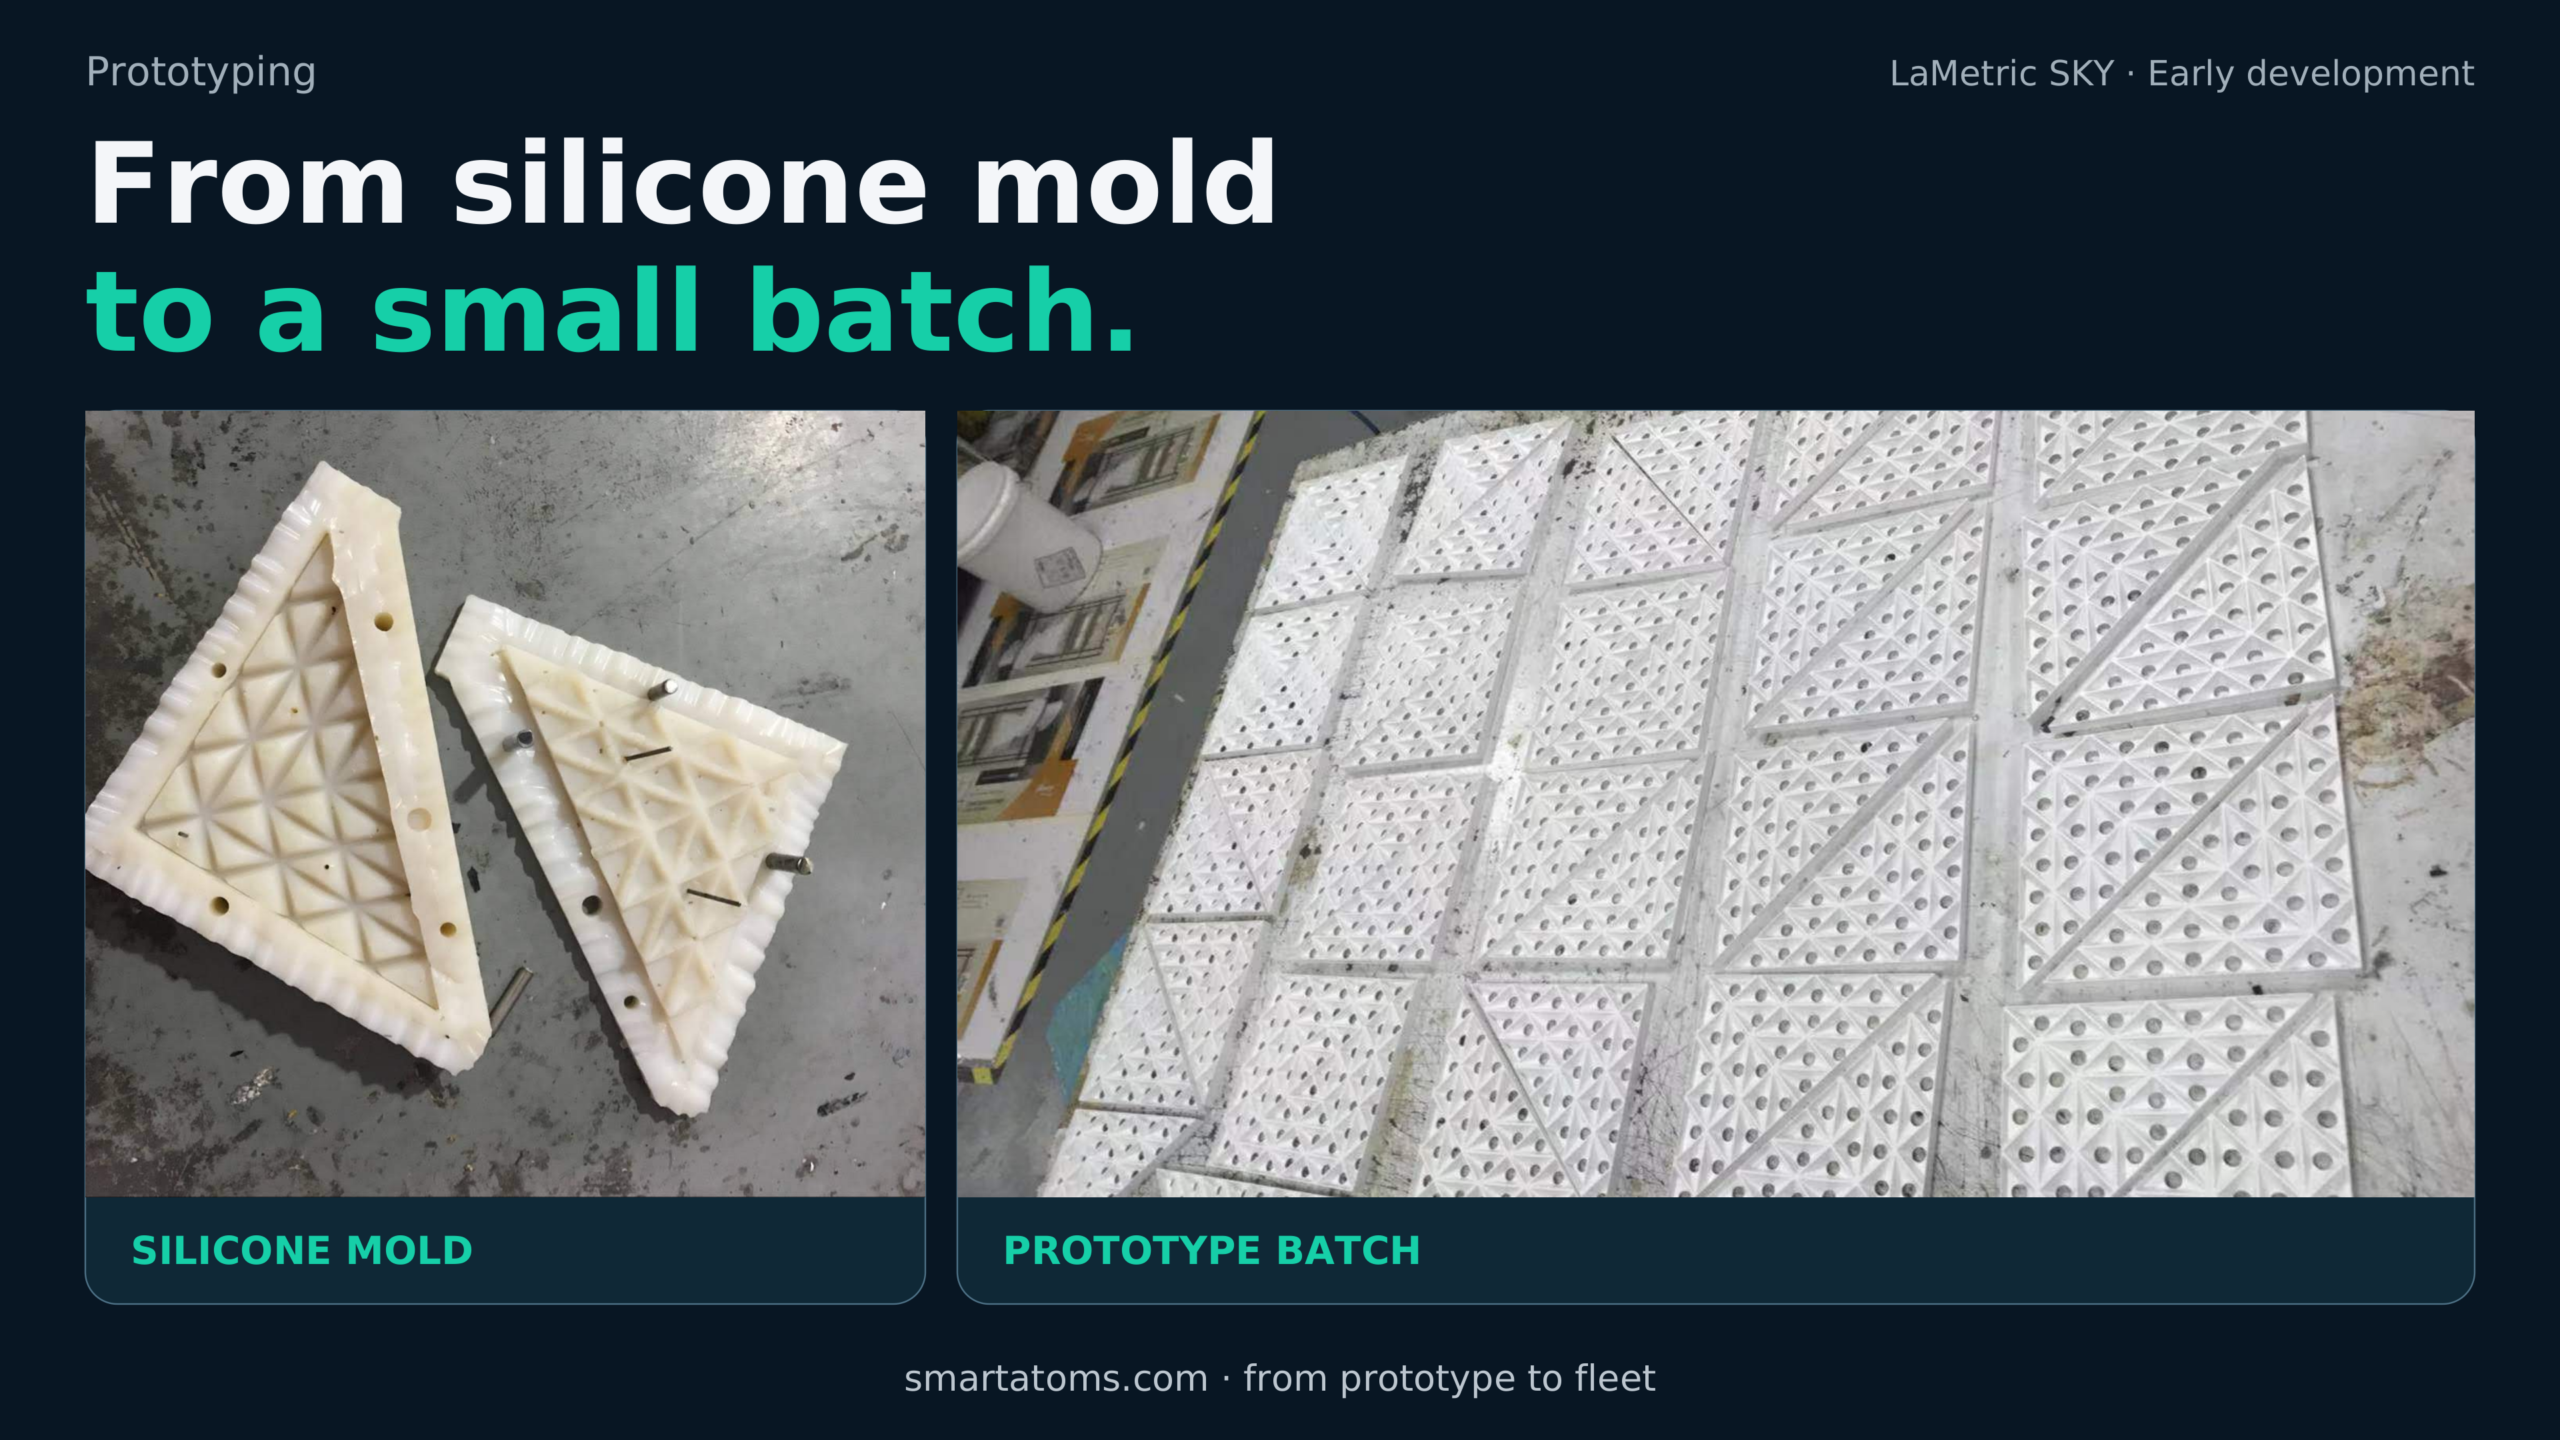
We have used silicone molds for early parts across our product range, and LaMetric SKY is one example. The photos above show an opened mold for a triangular SKY part and a batch of cast copies. A batch of identical parts is what lets you assemble several units, compare them and put them in front of other people while the production tool is still ahead of you.
For a small batch, silicone casting deserves a place alongside printing and machining. Pick the process by what the current stage needs to prove, and move to production tooling when the design is stable.

At Smart Atoms, we take enclosures from the first prototype through to production tooling, choosing the process around what each stage needs to prove. If you are deciding how to make your first 20 presentable parts, talk to an engineer. See also how we design enclosures from the first print to the production tool: enclosure and mechanical design.